How to safely remove Loctite threadlocker
Once Loctite threadlocker bonds have formed, they can be difficult to disassemble. We explain how to safely remove Loctite threadlocker.
Loctite are manufacturers of adhesives, sealants and functional coatings. Loctite’s threadlocker range consists of products that are designed to secure bolts and screws in place. By creating a firm bond between components, these products prevent loosening caused by stress, vibrations or rigorous activity. Once these bonds have been formed, they can be difficult to remove. This is why it’s important to know how to safely remove Loctite threadlockers.
When is Loctite threadlocker used?
Loctite threadlocker is used to tackle the age-old problem of vibrational loosening. Screws used in many applications are exposed to vibrations and tremors that can cause bolts to loosen. You can imagine why this might be dangerous if the bolt in question was holding together two important components.
Loctite threadlockers are often used in automotive work. Cars, buses, trains and even aeroplanes experience strong vibrations while in motion. In these situations, threadlockers are essential to ensuring bolts are securely in place. As there are different strengths of threadlockers, it’s also important to make sure the correct one is used for the task at hand.

The threadlocker removal process
Low and medium strength threadlockers
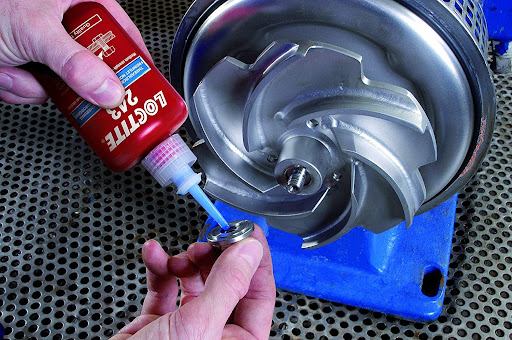
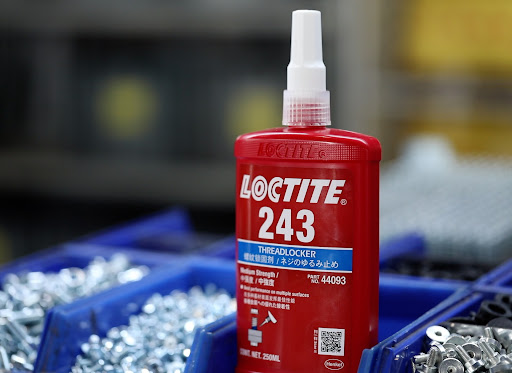
Loctite 222 (purple) and Loctite 243 (blue) are low and medium strength threadlockers, typically used on lower strength metals and for common assemblies. Purple Loctite is the lowest strength threadlocker, so simply applying extra torque with a screwdriver or spanner would do the job. Blue Loctite is stronger than purple, so you may need to use a torque wrench or pipe to apply enough breakaway torque to loosen the bolt.

High strength threadlockers
Removing Loctite threadlocker red requires you to heat up the nut and bolt for a short period by applying localised heat with a blow torch. This will soften up the thermoset plastic in the threadlocker, allowing you to then take the assembly apart.
Here are step by step instructions on how to safely remove Loctite red threadlocker:
- Wipe away any dust, dirt or debris from the assembly (to prevent fire hazards)
- Hold the heat gun or blow torch approximately 3 inches from the application (do not touch the application with the heat gun)
- Apply the heat gun to the required temperature (this depends on the strength of the threadlocker you are removing). After the application is heated, be sure to put the heat gun down safely, well away from wet or flammable surfaces
- Use a wrench, screwdriver or socket set to remove the nut, screw or bolt from the assembly

Things to keep in mind
Due to their nature, Loctite products can be extremely difficult to remove. For this reason, it’s a good idea to be certain that you want to apply the threadlocker before you do so. This process should be performed with care, so make sure you avoid common mistakes while doing so.
There’s also the risk of damaging other components of your build while you are using the heat gun. Not to mention the hazards of the heating process itself, which should always be considered to ensure health and safety compliance.
Here at V Tech SMT, we’re experienced suppliers of Loctite products. Whether it’s all-purpose adhesives, sealants or threadlockers, we can help you choose the right product for your project. If you have any further questions about Loctite threadlocker removal, get in touch with our team today.
